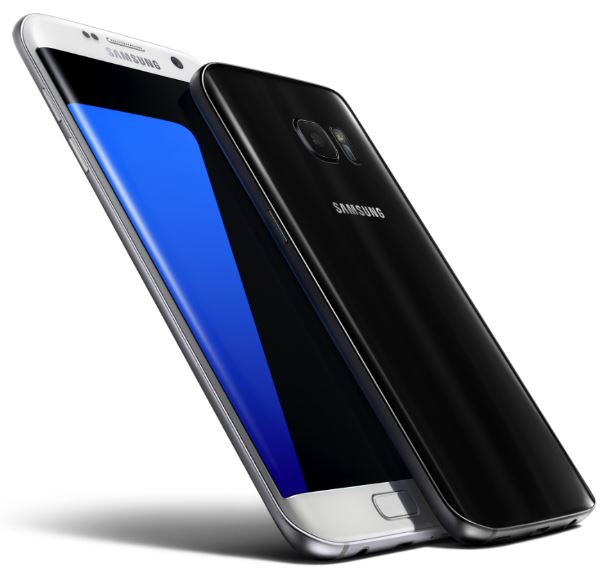
You can often resolve problems and errors on your Samsung Galaxy S7 by a simple workaround, the so-called "Wipe Cache partition". The Wipe Cache partition deletes temporary and unneeded system files that accumulate over time on your smartphone.
The advantage of this method is that it does not delete any personal data like pictures, messages etc. That is why we recommend everyone to use this method when errors and problems with the Samsung Galaxy S7 and the Android operating system occur.
Instructions for performing Wipe cache partition on the Samsung Galaxy S7
1. Turn the Samsung Galaxy S7 entirely off
2. Then, turn the power back with the following key combination to:
- Power On / Off
- Volume +
- Home button
When the Samsung Galaxy S7 vibrate briefly once, then let the Power on/ off button go, but keep the other two keys from the key combination pressed until a small Android figure appears on the screen.
3. Now wait about 30 seconds until a menu appears on the display.
4. Now select "Wipe cache partition" by using the volume-down key. With the Power On/ Off button, the entry is selected and the process is started.
5. This usually takes only a few seconds. Then the previously displayed menu reappears. Now choose the first entry with "Reboot system now" and execute the command again by pressing the Power button.
Your Samsung Galaxy S7 will now reboot. The Wipe Cache was thus successfully carried out on the smartphone. The Samsung Galaxy S7 should now run more smoothly and more quickly in any case, as it was previously the case. Also errors that have occurred in the Android software, usually no longer appear now.


