Solvemix

Suche Spickipedia

  • Home
  • Android Smartphones
  • iOS Smartphones
  • Blackberry Smartphones

Huawei P20 Pro Not registered on the net – Solved

Details
Manuel
Android Smartphones
Year 2019

It may happen that on the Huawei P20 Pro an info is displayed in the notification bar at the top of the screen with "Not registered on the net". If you see this message, it means that you cannot make phone calls or surf the mobile Internet.

This condition is of course unacceptable for a mobile phone and therefore we will show you here how you can hopefully solve the problem.

You now have the following options to solve the problem on the Huawei P20 Pro:

Sim card inserted correctly?
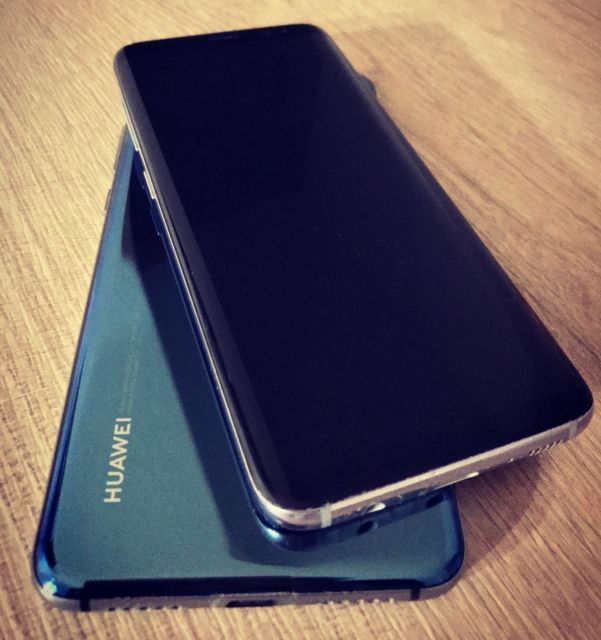
Huawei P20 Pro Hardware

It can happen that the Sim card has slipped due to a shock. If the card has no contact, this leads to the error in the status bar "Not registered in the network".

Sim card defective?

Test if the same phenomenon occurs with another Sim card. If not, your Sim card may be defective.

Activate the network mode "GSM" on your Huawei P20 Pro

Open the Android system settings on your Huawei P20 Pro. From here, go to "Wireless & Networks" and then to "Mobile Network". In this submenu you can now see "Preferred network type". Select the entry.

Now a menu appears, in which various options or connection modes are available. Now select "Only 2G" - Done!

Often it helps to go outdoors with the Huawei P20 Pro to get a network signal and make calls. To speed up the network search, it is often also helpful to restart the Android smartphone briefly.

Unfortunately there is no other way to solve the problem with "Not registered in the network". Under certain circumstances you should ask your network provider if an error occurs in the network.

We hope that you will now be able to use your Android smartphone again and perhaps even use the mobile Internet.

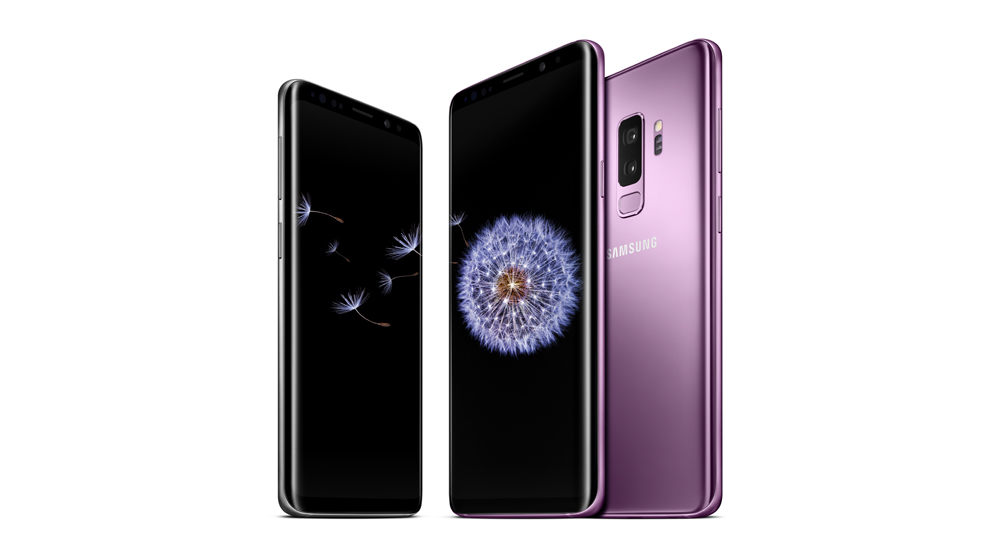
Samsung Galaxy S9 Not registered on the net - Solved

Details
Manuel
Android Smartphones
Year 2019

It can happen that a message appears on the Samsung Galaxy S9 display in the status bar with "Not registered on the net".

If you see this message, it means that you cannot make phone calls or surf the mobile Internet.

You now have the following options to solve the problem on the Samsung Galaxy S9:

Check that the Sim card is inserted correctly in the Sim card slot.

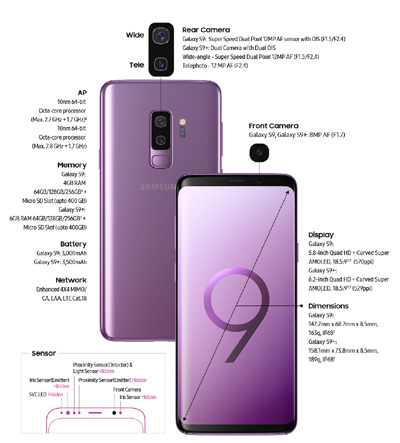
Samsung Galaxy S9 Hardware

 The card may have slipped due to a shock. If the card has no contact, this will lead to the error "Not registered in the network". Test whether the same phenomenon also occurs with another Sim card. If not, your Sim card may be defective.

Activate the network mode "GSM" on your Samsung Galaxy S9

Open the App menu and there the Android system settings. From here it goes on to "Connections" and "Mobile Networks". In this submenu you can now see "Network Mode". Select the entry.

Now a menu appears, in which various options or connection modes are available.

  • Now select "Only 2G" - Done!

Often it helps to go outdoors to get a network signal again and to be able to make phone calls. To speed up the network search it is often helpful to restart the Android smartphone.

Unfortunately there is no other way to solve the problem with "Not registered in the network". Under certain circumstances you should ask your network provider if an error occurs in the network.

We hope that you will now be able to use your Android smartphone again and perhaps even use the mobile Internet.
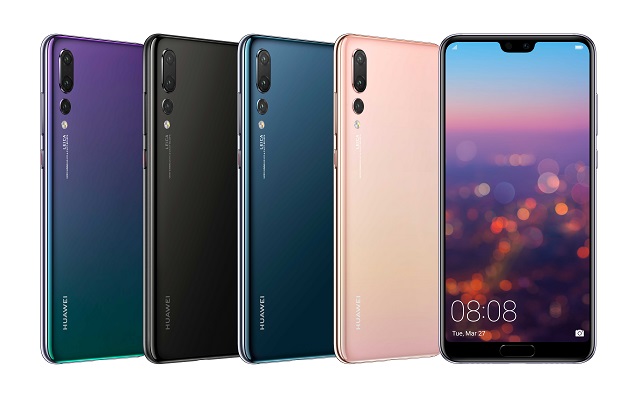
Using the Huawei P20 Pro Bokeh Effect - Camera

Details
Manuel
Android Smartphones
Year 2019

The Huawei P20 Pro has a special Bokeh mode integrated in the camera app that allows you to focus the foreground and blur the background in an image.

This camera mode is especially popular for portraits of people, because the person is highlighted.

The bokeh effect of the Huawei P20 Pro is achieved by using the three cameras on the back in combination with the AI of the software.

Using the Bokeh effect on the Huawei P20 Pro Plus

Huawei P20 Pro Hardware

Open the camera app

Select the "Portrait Mode"

Activate the Bokeh mode via the camera icon on the left (see screenshot)

Now take a photo with the Huawei P20 Pro

You should now have taken a photo with a Bokeh effect. Of course, you can edit this photo in the gallery app using the editor, such as adjusting contrasts, saturation and color.

Now you know how to take a photo with a bokeh effect on the Huawei P20 Pro.

Huawei P20 Pro Change notification tone - Tip

Details
Manuel
Android Smartphones
Year 2019

If you receive a notification on your Huawei P20 Pro in the form of an e-mail, an SMS, a WhatsApp message, etc., you will hear a notification tone in sound mode.

This sound, with the P20 pro "Bongo" is factory set and activated, but can of course be changed in the Android system settings. Below is a step-by-step guide on how to change a notification tone on the Huawei P20 Pro and add additional notification sounds. Proceed as follows:

Change notification sound in the Android settings

Huawei P20 Pro

Open the Android settings from the Homescreen

Navigate from there to "Sounds"

Now select "Notifications"

Select a sound in the list that you like more than the currently configured one.

You have now changed the notification tone on the Huawei P20 Pro. If you want to use your own notification tone, please proceed as follows:

Use your own notification tone - Tip

Open a file explorer such as "Files"

Save an MP3 file to a folder of your choice - The media scanner of the Huawei P20 Pro will automatically recognize the MP3 file and offer it later in the notification tone selection list.

You can then proceed as described in the first tutorial. In the list of apps, however, you will now be offered the newly added notification tone for selection.

You now know how to add or change a notification tone on the Huawei P20 Pro.

Samsung Galaxy S9 Change notification tone - Solved

Details
Manuel
Android Smartphones
Year 2019

If you receive a notification on your Samsung Galaxy S9 in the form of an email, SMS etc., you will hear a notification tone.

This sound is factory set, but can of course be changed. Below, we have summarized in a tutorial how to change the notification tone on the Samsung Galaxy S9.

Proceed as follows:

Change the notification sound in the Android settings

Samsung Galaxy S9

1. Open the Android settings from the start screen

2. Go to "Sounds and Vibration"

3. Select "Notification Sounds"

4. Select a sound in the list that you like more than the currently configured one.

5. You have now changed the notification tone on the Samsung Galaxy S9. If you want to use your own notification tone, please proceed as follows:

Use your own notification tone - Tip

Open a file explorer such as "My Documents"

Now select "Internal Storage"

Open Media --> Audio

Create the following folder in it:

  • Notifications

Now copy an MP3 file into this folder that plays the desired notification tone. Restart the smartphone Then proceed as described in the first instructions.

In the list of apps, however, you will now be offered the newly added notification tone for selection.

You now know how to add or change a notification tone on the Samsung Galaxy S9.

Samsung Galaxy S8 Camera Bokeh function available? Solved

Details
Manuel
Android Smartphones
Year 2019

Can I use the Samsung Galaxy S8 to take photos with Bokeh effect? You might ask yourself this question if you are faced with the choice of buying the Samsung Galaxy S8 instead of the Samsung Galaxy S9 Plus.

The Samsung Galaxy S8 doesn't have a bokeh function directly integrated, but you can achieve such an effect by using the aperture function in the camera app.

How this works on the Samsung Galaxy S8 is explained in the following:

Samsung Galaxy S8 Create Bokeh Effect with Aperture

Samsung Galaxy S8

1. Open the camera app on the Samsung Galaxy S9

2. Switch to the camera mode "Aperture" and then tap the aperture symbol on

3. Choose the largest possible aperture value, because the larger the aperture, the blurrier the background and the more objects or people in the foreground are emphasized.

Now you have achieved a bokeh effect on the Samsung Galaxy S8. This is probably not as effective as the portrait mode of the S9 Plus, but the S8 is also much cheaper.

You can also install apps from the Google Play Store that have such a bokeh mode.

Samsung Galaxy S9 Plus Portrait Mode with Bokeh Effect - Tip

Details
Manuel
Android Smartphones
Year 2019

Unlike the Samsung Galaxy S9, the Samsung Galaxy S9 Plus has a special Bokeh mode integrated in the camera app, with which you can make the foreground sharp, the background blurry.

This camera mode is especially popular for portraits of people, because the person is highlighted. The Bokeh effect of the Samsung Galaxy S9 Plus is achieved by using both cameras.

How to use Bokeh effect of the Samsung Galaxy S9 Plus

Samsung Galaxy S9

1. Open the camera app.

2. Select "Portrait Mode".

3. Take a photo with the Samsung Galaxy S9 Plus.

Now you should have taken a nice photo with Bokeh effect.

Of course, this can be edited later in the app, such as adjusting contrast, saturation and color.

Now you know how to take a photo with a bokeh effect on the Samsung Galaxy S9 Plus.

Samsung Galaxy S9 Camera Bokeh function available? Solved

Details
Manuel
Android Smartphones
Year 2019

If you want to take a photo with Bokeh effect with the Samsung Galaxy S9 camera, you won't find any suitable camera modes.

However, with the Samsung Galaxy S9 you can of course take Bokeh portraits. We'll tell you exactly how this works here:

The Bokeh effect is created via the aperture if there are no two cameras like the S9 Plus.

To do this, proceed as follows:

Samsung Galaxy S9

1. Open the camera app on the Samsung Galaxy S9

2. Switch to the camera mode "Pro" and then tap the aperture symbol at

3. Select the largest possible aperture value, because the larger the aperture, the blurrier the background and the more emphasis is placed on the objects or people in the foreground.

Because the Samsung Galaxy S9 has a mechanical aperture, this method is very suitable for achieving a bokeh effect.

The slightly larger Samsung Galaxy S9 Plus, which is equipped with two cameras, even has its own portrait mode, which the "normal" S9 unfortunately doesn't have.

You now know how to shoot photos with Bokeh effect with the Samsung Galaxy S9 without having to install an extra app.

Huawei P20 Pro Heart Symbol Meaning and how to hide it - Solved

Details
Manuel
Android Smartphones
Year 2019

On your Huawei P20 Pro, you may see a heart shaped symbol in the status bar to the left of the Notch. This heart symbol comes from the "Health" app, which is factory installed on your smartphone.

You can use it to track your steps, count calories and much more. The heart symbol therefore comes from the Health App and gives you information about the steps taken and the calories consumed.

If you don't need this information in the status bar of your Huawei P20 Pro, you probably want to deactivate it.

Below we describe how you can deactivate the heart symbol in the status bar on the Huawei P20 Pro.

Please proceed as follows step by step:

Hide heart symbol in the status bar of the Huawei P20 Pro

Huawei P20 Pro

1. Open the health app on the Huawei P20 Pro

2. Select "User" at the bottom right

3. Then navigate to "Settings"

4. Go to "Notification management" - Deactivate the following option here:

  • Push notification for real-time step count

Now you no longer see a heart symbol in the status bar of your Huawei P20 Pro. This should help you to have more space left of the notch.

You now know how to hide the heart symbol or the notification information from the Health App on the Huawei P20 Pro.

Samsung Galaxy S9 How to deactivate lock screen completely

Details
Manuel
Android Smartphones
Year 2019

The Samsung Galaxy S9 is usually protected by a lock screen fuse, which can consist of a pin, password, fingerprint, etc. The fuse can also be used to lock the Samsung Galaxy S9.

If the whole thing is too much for you and you would rather deactivate the lock screen completely, then you can do this on the Samsung Galaxy S9 quite simply in the settings.

 Afterwards, the smartphone is simply unlocked by swipe across the display. A very fast variant.

Deactivate the lock screen only by swipe across the display - Samsung Galaxy S9

Samsung Galaxy S9

1. Please navigate to the following submenu on your Samsung Galaxy S9:

2. Open the App menu and then the Android system settings

3. Now select "Device security" --> "Lock screen type" from

4. Enter your current security method such as pin, password, etc.

5. Activate the "Scratch" function Afterwards your Samsung Galaxy S9 can be unlocked by simply swipe it across the screen.

It is no longer necessary to enter an unlock method. This allows you to access the device faster, but of course this method has no security aspect.

You now know how to disable the lock screen on the Samsung Galaxy S9.

More Articles ...

  1. Huawei P20 Pro Disable Lock Screen Password
  2. Huawei P20 Pro QR Code Scan – Tip
  3. Using the Samsung Galaxy S9 as a decibel measurement tool – Tip
  4. Huawei P20 Pro How to deactivate step counter - Solved
  5. iPhone How to measure your current altitude - Solved
  6. Apple Watch Series 4 Closing App manually – Instructions
  7. Apple Watch 4 Checking Battery Consumption – Solved
  8. Huawei P20 Pro Alarm Clock icon does not disappear – Tips
  9. Samsung Galaxy S9 Alarm clock icon in status bar does not disappear – Tip
  10. Samsung Galaxy S9 Volume over headphones very low – Solved
Page 33 of 317
  • Start
  • Prev
  • 28
  • 29
  • 30
  • 31
  • 32
  • 33
  • 34
  • 35
  • 36
  • 37
  • Next
  • End


  1. You are here:  
  2. Home

Imprint

Privacy Policy

Privacy and Terms of Google

Sitemap