Solvemix

Suche Spickipedia

  • Home
  • Android Smartphones
  • iOS Smartphones
  • Blackberry Smartphones

Huawei P20 Pro calendar colors change regularly – Solution

Details
Manuel
Android Smartphones
Year 2019

If you use an alternative calendar on your Huawei P20 Pro, such as Google Calendar, you can assign calendar colors to different events in it.

But now it is the case that the calendar colors change regularly after you have set them, independently and automatically.

This means that the calendar color has to be changed each time. The reason for this is the synchronization with the Huawei calendar, even if it is not actively used.

The cause can only be solved by Huawei by optimizing the calendar app accordingly. However, the symptoms can be solved very well, so that the calendar colors on the Huawei P20 Pro are not constantly changed.

This works as follows:

Solution for calendar colors change automatically
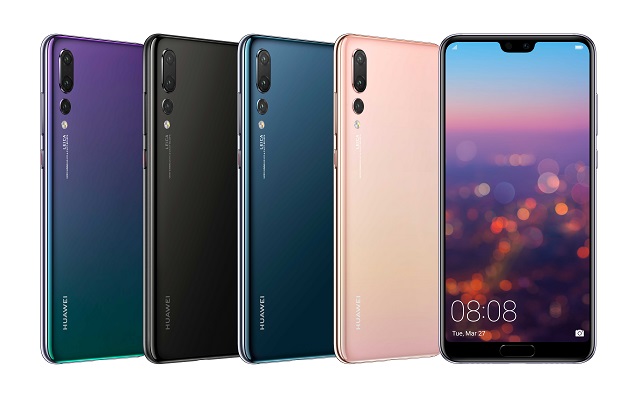
Huawei P20 Pro

For this all rights must be withdrawn from the Huawei calendar. This works as follows via the Android system settings:

1. Opens the settings of Android

2. Selects "Apps and Notifications" from

3. Next it goes to "Apps" - Searches in the list for "Calendar" and taps the calendar symbol of the Huawei calendar to

4. In the app info selects "Permissions". Now remove the permissions from all apps:

  • Calendar
  • Camera
  • Contacts
  • Memory
  • Telephone

Slide the slider from "On" to "Off" Afterwards restarts the Huawei P20 Pro.

The calendar colors of the Google Calendar App should no longer change automatically. You have solved the problem without waiting for an App Update from Huawei.

By the way, the above trick also works for other calendar apps.

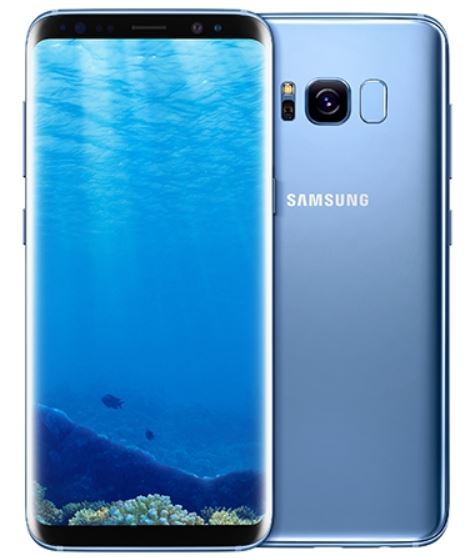
Samsung Galaxy S8 Call Forwarding - Solved

Details
Manuel
Android Smartphones
Year 2019

If you want to automatically forward incoming calls on your Samsung Galaxy S8 to another telephone number, you must configure a special call forwarding function for this purpose.

This setting must be sent to the network, as this is not controlled via the smartphone, but via the network. How to set up call forwarding with the Samsung Galaxy S8 is explained in the following in our instructions:

Configuring call forwarding

Samsung Galaxy S8

1. Open the phone app

2. from the Home screen. Then navigate to the three-point icon in the upper right corner and then to Settings

3. In the menu that opens. You can now go to "Further settings" --> Call forwarding

4. You will now see the following alternative settings:

  • Always forward
  • Forward if busy
  • Forward if no answer
  • Forward if not reachable

5. You can now create a call forwarding for each call event. Touch the corresponding entry and a small entry window opens.

6. Now enter the phone number to which the call should be forwarded. Save the process - This will send the corresponding code to the mobile network and transfer it to it.

From now on, the calls are automatically forwarded to the stored phone number for the event you have selected.

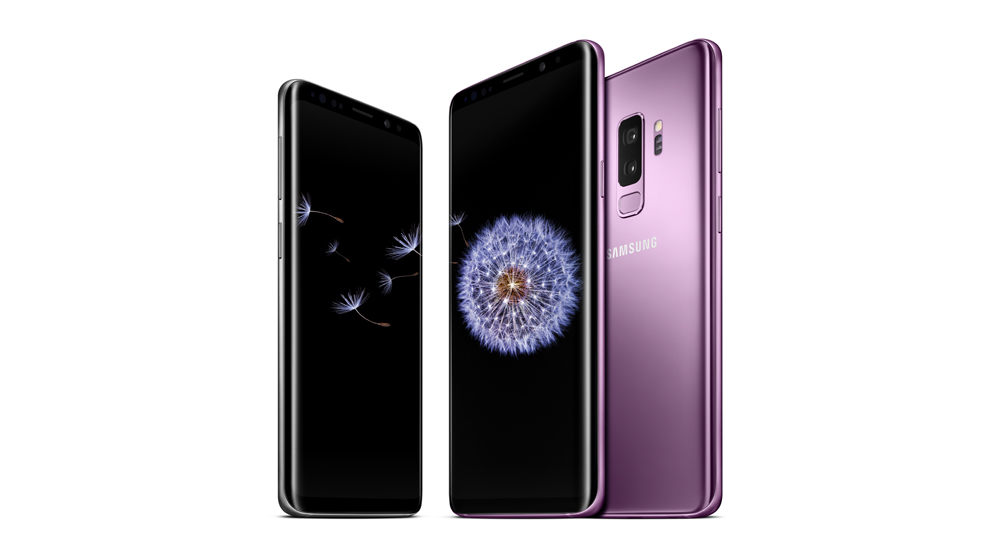
Samsung Galaxy S9 Call Forwarding – Instructions

Details
Manuel
Android Smartphones
Year 2019

If you want to automatically forward incoming calls on your Samsung Galaxy S9 to another phone number, you need to set up a special call forwarding.

This setting must be sent to the network. We will explain how this works with the Samsung Galaxy S9 as follows:

Forwarding calls to landlines or mobile numbers - Instructions

Samsung Galaxy S9

1. From the start screen, open the phone app

2. Navigate to the three-point icon in the top right corner and then to Settings

3. Now go to "More settings" --> Call forwarding

4. You will now see the following options:

  • Always forward
  • Forward if busy
  • Forward if no answer
  • Forward if not reachable

You can now create a call forwarding for each event. Touch the corresponding entry and a window opens.

5. Now enter the number to which the call should be forwarded.

6. Save the process.

From now on, the calls are automatically forwarded to the stored phone number for the event you have selected.

Huawei P20 Pro Setting up the Hotspot - Tip

Details
Manuel
Android Smartphones
Year 2019

The Huawei P20 Pro has a useful built-in feature that lets you set up the smartphone as a hotspot. You make the mobile Internet connection of the Huawei P20 Pro available to other W-Lan-enabled devices via Wi-Fi.

For example, you can surf the Internet via the Huawei P20 Pro with your laptop. Find out exactly how this works and what settings you need to make to set up the HotSpot here:

Activate Wi-Fi Hotspot - Use Tethering

Huawei P20 Pro

1. Open the Android settings on the Huawei P20 Pro

2. Navigate to "Tethering & mobile HotSpot"

3. Next, select "Mobile WLAN Hotspot"

4. Activate it by setting the switch to "active"

5. Under "Configure W-Lan HotSpot" you can now change the network name and set a password.

You can also activate the "WPA2 PSK" security method. You can then access the mobile data connection of the Huawei P20 Pro with another W-Lan-enabled device and surf the Internet via it.

You now know how to activate and configure a W-Lan hotspot on the Huawei P20 Pro and how to surf with other devices.

Changing the Huawei P20 Pro wallpaper – Tip

Details
Manuel
Android Smartphones
Year 2019

If you want to change a wallpaper on the Huawei P20 Pro, also known as a wallpaper, you can do the following in Android:

Huawei P20 Pro

1. Open the system settings of Android

2. On the Huawei P20 Pro scroll down in the menu to "Display" and open the entry Background

3. Select the following entry there:

  • Define background (Alternatively you can also activate the option with "Randomly change background of start screen"

4. You can now choose a background from the gallery or from the installed theme pictures.

Click "More" to get more background images from the Huawei Cloud.

If you have made your choice for a background image, then select the tick in the upper right corner. This will take over the image for the start screen. Done!

The newly defined background is now active on your Huawei P20 Pro. You now know how to customize the wallpaper on your Huawei P20 Pro.

Huawei Mate 20 Lite Changing the wallpaper - Instructions

Details
Manuel
Android Smartphones
Year 2019

If you want to change a wallpaper on the Huawei Mate 20 Lite and thus individualize your smartphone, you can proceed as follows in Android:

1. Open the Android system settings on the Huawei Mate 20 Lite

2. Scroll down in the menu to "Display" and open the entry Background

3. Select the following entry there:

  • Define background (Alternatively you can also activate the option with "Randomly change background of start screen"

4. You can now choose a background from the gallery or from the installed theme pictures. Click "More" to get more background images from the Huawei Cloud.

Once you have made your choice, check the box in the upper right corner. Done!

The background is now active on your Huawei Mate 20 Lite.

You now know how to customize the wallpaper on your Huawei Mate 20 Lite.

Huawei Mate 20 Lite Delete Widget - Trash

Details
Manuel
Android Smartphones
Year 2019

If you have added several widgets to the start screen on the Huawei Mate 20 Lite, you may want to remove or delete some of them.

Because the fuller the start screen, the more confusing. Our following instructions briefly describe how to remove a widget from the start screen on the Huawei Mate 20 Lite.

To delete a widget again, press and hold the widget until a Remove icon appears at the top of the screen. Drag and drop the widget onto the icon to remove it.

The widget has now been successfully deleted, but can of course be added from the Widget menu again.

You now know how to remove a widget from the Home screen on the Huawei Mate 20 Lite.

Remove Xiaomi Redmi Widget from Home screen - Tip

Details
Manuel
Android Smartphones
Year 2019

Over time, your home screen may accumulate a number of widgets that you may or may no longer use. If this is the case, it makes sense to remove these widgets from the Xiaomi Redmi home screen.

If you haven't worked with Android before, this guide will help you to remove widgets from your Home screen.

Home screen - Clean up widgets

1. On the home screen, display the widget you want to delete

2. Press and hold the widget until it lifts and moves

3. At the same time, a trash can appears at the top - Drag the widget onto it

4. If your fingertip touches the trash, release the widget - It will be deleted

Now you have successfully removed your first widget on an Android smartphone like the Xiaomi Redmi.

Huawei Mate 20 Lite Add Widget to Home screen

Details
Manuel
Android Smartphones
Year 2019

You can use a widget to quickly and easily display information on the Huawei Mate 20's home screen or use functions directly.

But first you have to add a widget to the home screen. We would like to show you how Android works on your smartphone:

1. Touch and hold an empty space on the start screen.

2. Tap Widgets at the bottom of the menu

3. Touch and hold a widget - you switch back to the Home screen

4. Drag and drop the widget to your preferred Home screen page.

For the widget to be added successfully, there must of course be enough space on the desired home screen page of the Huawei Mate 20.

Xiaomi Redmi Add widget to home screen - Solved

You can customize Xiaomi Redmi by adding additional widgets to the home screen. A widget displays additional information from an app directly on the home screen, such as the current weather at a predefined location.

The following article will show you how to add such a widget to the Xiaomi Redmi:

We'd like to show you how Android works on your smartphone:

1. Touch and hold an empty space on the start screen.

2. Tap on Widgets at the bottom of the menu

3. Touch and hold a widget - you switch back to the Home screen

4. Drag and drop the widget to the preferred Home screen page.

You have now successfully added a new widget, such as a weather widget, to the Xiaomi Redmi Home screen.

Switch off Xiaomi Smartphone Mailbox – How this works

Details
Manuel
Android Smartphones
Year 2019

If you want to deactivate the mailbox with your Xiaomi Smartphone, which is automatically activated by your mobile phone provider, there are several options.

The simplest method, however, is to deactivate call forwarding to the mailbox using a network code. How to do this is described below:

1. Open the phone app.

2. On your Xiaomi smartphone, switch to the keypad.

3. And enter the following GSM network code:

  • ##002#

4. Press the Call key (green handset) to send the network code.

The mailbox is then deactivated. You now know a quick method to switch off the mailbox with your Xiaomi smartphone.

More Articles ...

  1. Huawei Mate 20 Disable Mailbox - GSM Code
  2. Android 9.0 Pie Record a Screenshot – Instructions
  3. Huawei Mate 20 Lite Create Screenshot - Key combination
  4. Huawei Mate 20 Lite is not recognized by PC - Solved
  5. Activate Huawei Mate 20 Lite developer options
  6. Xiaomi Unlock Developer Options – Instructions
  7. Xiaomi Mi A2 Which Sim card do I need – Solution
  8. Instagram Copy and paste image link - solved
  9. Apple Watch Activate display when lifting your arm - Instructions
  10. Huawei Mate 20 Lite You need this Sim Card - Solved
Page 47 of 317
  • Start
  • Prev
  • 42
  • 43
  • 44
  • 45
  • 46
  • 47
  • 48
  • 49
  • 50
  • 51
  • Next
  • End


  1. You are here:  
  2. Home

Imprint

Privacy Policy

Privacy and Terms of Google

Sitemap