Solvemix

Suche Spickipedia

  • Home
  • Android Smartphones
  • iOS Smartphones
  • Blackberry Smartphones

Huawei P20 Pro Map in Gallery shows locations - Tip

Details
Manuel
Android Smartphones
Year 2018

The Huawei P20 Pro can take photos with its 40 megapixel camera including GPS tag. This means that with every photo, the GPS position data are additionally recorded in the EXIF data.

Thus, one can later retrace where exactly the photo was taken. Huawei has now given the P20 Pro in the gallery app a function with which one can show directly on a map where the photos were taken. We'll explain where to find this function here:

Show photo map in the gallery app - Tip
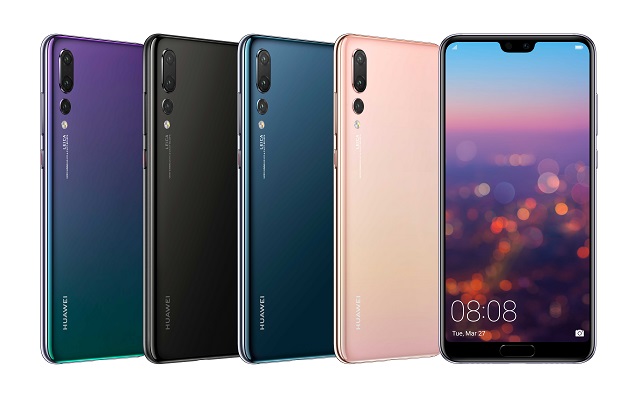
Huawei P20 Pro

1. Open the gallery app

2. On the Huawei P20 Pro. Change to the tab "Photos"

3. Tap on "Map" at the bottom of the menu box. A map will now be displayed in which all photos with location data are shown.

This will look something like the following. Depending on how many photos you have taken, it might get a bit confusing here... If your photos are taken without GPS tag, you can activate the function in the camera settings as follows:

Open the camera app and then the settings via the gear icon. Scroll down to "GPS Tag" and activate the slider there. Done!

You know now, now! Now you know how to display photos with GPS tag on the Huawei P20 Pro on a map in the gallery app.

Honor 10 How do I add a widget to the home screen - Solution

Details
Manuel
Android Smartphones
Year 2018

You can customize Honor 10 by adding additional widgets to the home screen. A widget displays additional information from an app directly on the home screen, such as the current weather at a predefined location.

The following article will show you how to add such a widget to Honor 10:

  1. Find a free space on the start screen of Honor 10
  2. Press and hold your finger on the free space until the screen shrinks
  3. A menu appears where you can now select "Widget"
  4. In the widget list, search for the widget you want to add to the Home screen
  5. Press and hold the widget until it is placed on the Home screen
  6. Release the widget when it is in the right position and you know how to easily add a widget to the Home screen on Honor 10


Honor 10 Which Sim card do I need - Solved

Details
Manuel
Android Smartphones
Year 2018

In order to be able to make phone calls with Honor 10 and surf the mobile internet, you need a Sim card. Here there are different sizes and shapes. It follows that not every Sim card fits into every smartphone.

For this reason, it is important to know which Sim card requires Honor 10: The Honor 10 requires a Nano Sim card. If you are still using a standard or micro sim card, you will get a Nano sim card as follows:

Press out the perforation

You have a Sim card with Nano perforation? This is the simplest variant. Simply press the Nano Sim card out of the already existing Sim card along the perforation.  

Use Sim card punch

You have a Sim card without Nano perforation?

For this there are so called "Sim card punchers". A Sim card punch, similar to a punch, cuts out the correct format from your Sim card if it is larger.

Such Sim card punches are already available for little money on Amazon.

Mobile Carrier

If the effort is too big for you, you can also simply request a new Nano Sim card from your mobile network operator for the Honor 10. But keep in mind that this can also be associated with costs.

You now know the type of sim card your Honor 10 needs and how to get it if you don't have the right format yet. We wish you a lot of fun with the Honor 10.

Honor 10 How do I take a screenshot - key combination

Details
Manuel
Android Smartphones
Year 2018

A screenshot captures the currently displayed screen content and for this reason is often called "screenshot" or "screen print". How you can create such a screenshot with Honor 10 is described here:

The simplest method to make a screenshot with Honor 10 is the key combination. Because this can be used in all apps without any problems. And so the screenshot can be created: Honor 10 Screenshot key combination

  1. First, display on the Honor 10 on the screen what you would like to see
  2. Press and hold the following key combination for approx. 2 seconds: Power On/ Off Button Volume Quieter Button
  3. After approx. 2 seconds the screenshot is triggered on the device and stored on the internal memory. This can then be accessed via the gallery app.

Alternatively, you can also take a screenshot via the status bar.


Samsung Galaxy S9 TouchWiz surface slow - Solution

Details
Manuel
Android Smartphones
Year 2018

If you move with the Samsung Galaxy S9 within the Android system, then the Samsung surface Samsung Experience comes into play. This used to be known as TouchWiz.

If you notice that this interface lows down, you can use the following tip(s) to take action and speed up the transition animations.

To do this, you need to make the following settings in the developer options of the Samsung Galaxy S9. If you have not yet unlocked any developer options, please proceed as follows: Open the Android settings and select "Over the phone". Then it goes on to "System". Here you will find the entry "Build number". Touch the entry seven times. Voila the developer options are unlocked:

Fix slow GUI on the Samsung Galaxy S9

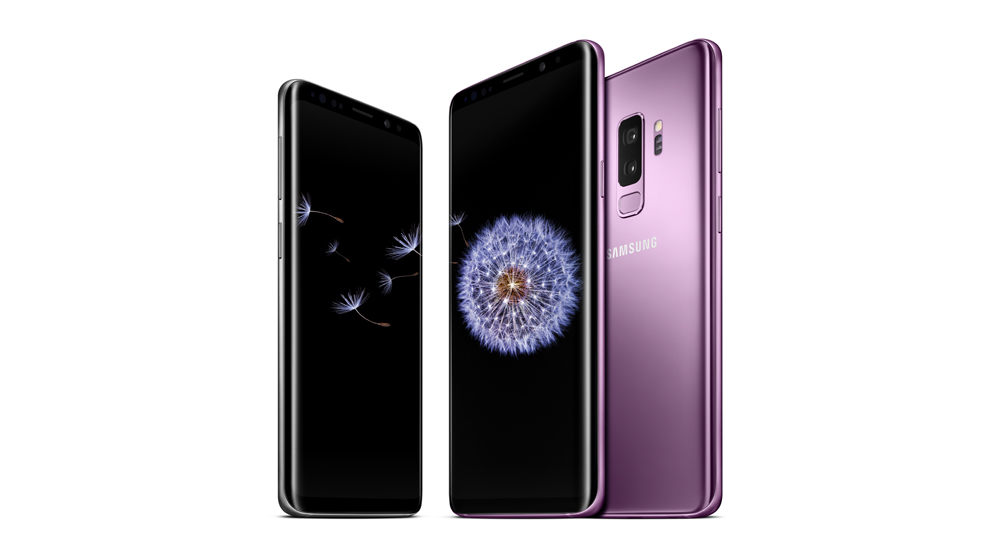
Samsung Galaxy S9

1. Open the settings and then the developer options

2. Activate them using the master slider

3. Scroll down until you see the following options:

  • Scale window animation: Set the option to "Animation off"
  • Scale transition animation: Set the option to "Animation off"
  • Scale for animator time: Set the option to "Animation off"

4. Then restart the Samsung Galaxy S9.

If you are now using the Android operating system or the Samsung Experience interface, the system should run much faster than before.

Samsung Galaxy A6 Flash Notification - Tip

Details
Manuel
Android Smartphones
Year 2018

On the Samsung Galaxy A6 you can be informed about the receipt of new notifications, such as SMS, WhatsApp messages or incoming calls via LED flash. The camera LED, which is otherwise used as a flash, is used for this purpose.

If the corresponding function is activated within the Android operating system, the camera LED light on the back of the housing flashes at regular intervals when a new notification is received.

If you do not yet know how to activate the flash notification on the Samsung Galaxy A6, we would like to explain this in more detail here:

Use camera LED flash for incoming notifications

  1. To do this, navigate from the start screen and open the App menu and continue the settings.
  2. Scroll down until you see the "Input help" menu item and then select it.
  3. Then select "Hearing Impairment". There you will find the option you are looking for: "Flash notification".
  4. Select this option and move the slider in each case with "Camera light" on active or if necessary also with "Screen" on.

You now know the procedure to flash the camera LED light for incoming calls or messages.


OnePlus 6 How to reset to factory settings? Solved!

Details
Manuel
Android Smartphones
Year 2018

To delete all data on the OnePlus 6 and restore the factory settings, the smartphone must be reset to factory settings. There are two ways to do this:

Via Android or via the Recovery menu.

The Recovery menu is used whenever Android is no longer booted. Below are the instructions for the two different variants:

Resetting OnePlus 6 via Android settings

  1. To do this, open the settings from the start screen and select "Save and reset".
  2. Then select the option "Return to factory settings".
  3. Finally select "Reset phone" and confirm the security prompt.
  4. As soon as the factory reset has been completed, the OnePlus 6 restarts.

OnePlus 6 Reset to factory settings via the Recovery menu

  1. Switch the OnePlus 6 off completely
  2. Wait until the device is completely switched off.
  3. Then press and hold the Power and Volume Quieter buttons simultaneously to turn on the unit.
  4. Continue to press and hold these two buttons during the OnePlus startup screen. Only when the OnePlus logo disappears can you release these two buttons.
  5. Wait until the One Plus 6 starts in the recovery mode.
  6. Select the One Plus 6 buttons. Select the language of your choice (the navigation in the recovery menu is done via the volume buttons and the power button).
  7. Now select "Wipe data and cache".

The factory reset will now be performed on the OnePlus 6. Then the device is restarted and the Android setup wizard is booted, in which the smartphone can be set up again.

OnePlus 6 How to Perform Wipe Cache Partition - Solved

Details
Manuel
Android Smartphones
Year 2018

Many errors with your One Plus 6 smartphone can be solved by starting a specific process called "Wipe Cache Partition". What exactly happens? This process deletes all old system files on your One Plus 6 that are still inside the cache.

This is sometimes urgently necessary. This is because the cache often contains files that are older than the firmware currently installed on the One Plus 6. These old files make the Android operating system sluggish overall and they are no longer needed. That's why you can safely delete them on the One Plus 6 smartphone using the Wipe Cache partition. And that works as follows:

  1. Switch the One Plus 6 off completely
  2. Wait until the device is completely switched off.
  3. Then press and hold the Power and Volume Quieter buttons at the same time to turn on the device.
  4. Continue to press and hold these two buttons while the OnePlus start screen is displayed.

Only when the OnePlus logo disappears can you release these two buttons.

  1. Wait until the One Plus 6 starts in the recovery mode.
  2. Tap the language of your choice
  3. Tap the Clear Data and Cache option.
  4. Tap the language of your choice. Tap on the "Wipe Cache" option.
  5. Tap the Yes option when prompted to confirm. 10.
  6. Wait until the One Plus 6 has cleared the cache partition. Then tap the Restart option to restart the One Plus 6.

You now know how to perform a wipe cache partition on the One Plus 6.


OnePlus 6 Enable USB Debugging - Optimize Connection to Computer

Details
Manuel
Android Smartphones
Year 2018

You can connect the OnePlus 6 to your PC or laptop via a USB cable and transfer data such as pictures or videos. This is very useful because you can easily create a backup.

But what can you do if the USB connection to the computer doesn't work properly and you don't have access to the memory? Then USB debugging usually helps. You can find out how and where to activate it here:

First you have to activate the developer options if you haven't done so yet. Use the following instructions from us for this: Activate developer options in Android If you have unlocked them, then you can start with the actual instructions to establish the USB connection between your OnePlus 6 and a computer:

  1. Open the settings on the OnePlus 6 and then the developer options
  2. Search here for the "USB Debugging"
  3. Activate the option by setting the slider to "active"
  4. Disconnect the USB cable between the OnePlus 6 and the computer if not already done
  5. Restart the OnePlus 6
  6. After restarting the device, reconnect the USB cable to the computer

Your OnePlus 6 should now connect wonderfully to a computer via a USB cable.


OnePlus 6 Unlock developer options in Android

Details
Manuel
Android Smartphones
Year 2018

The developer options are hidden within the Android settings of OnePlus 6 and therefore not visible from the beginning. This means that they have to be activated first to make them visible.

These options provide you with settings such as "USB Debugging". How this works is explained in more detail in the following short manual:

Make developer mode visible for OnePlus 6

  1. Open the App menu and there the system settings of OnePlus 6
  2. Scroll down to "Phone info" (Device information)
  3. Now select "Software" or "Software information"
  4. Here you will see the entry "Build number" - tap it several times in quick succession to unlock the developer options on OnePlus 6. An info message will then appear at the bottom of the display indicating that the developer mode is now displayed in Android.
  5. Return to the settings menu now. You will now see a new menu item at the end of the list.

You now know how to unlock and activate the "Developer options" on OnePlus 6.


More Articles ...

  1. OnePlus 6 screenshot method - simplest variant
  2. OnePlus 6 Which Sim Card is needed - Solved!
  3. iPhone X Slow W-Lan Internet connection - Solved
  4. iPhone X How can I deactivate the sound? Solved!
  5. Playstation 4 How to format hard disk - manual
  6. Playstation 4 controller lose its connection to the console
  7. Playstation 4 controller fully charged?
  8. Playstation 4 Sound is not played on TV - Solved
  9. Playstation 4 Which steering wheels are compatible
  10. Playstation 4 Using a laptop as a monitor possible? Solved!
Page 85 of 317
  • Start
  • Prev
  • 80
  • 81
  • 82
  • 83
  • 84
  • 85
  • 86
  • 87
  • 88
  • 89
  • Next
  • End


  1. You are here:  
  2. Home

Imprint

Privacy Policy

Privacy and Terms of Google

Sitemap