Solvemix

Suche Spickipedia

  • Home
  • Android Smartphones
  • iOS Smartphones
  • Blackberry Smartphones

Cubot Smartphone Creating a Screenshot - Instructions for Shortcut Keys

Details
Manuel
Android Smartphones
Year 2019

The Cubot smartphones are very good value for money and are enjoying increasing popularity in this country as well, since they can be purchased from various retailers such as Amazon.

If you have bought a Cubot Smartphone, then you certainly want to use the screenshot function. This function is of course available, because the device runs with the Android operating system and can be used as follows:

Capturing a screenshot with a Cubot smartphone - Instructions

Let the display of your Cubot Smartphone show you what should later be saved within the screenshot

Now press and hold the following key combination simultaneously for at least 2 seconds:

  • Power button
  • Volume down key

This key combination will now trigger a screenshot. You will hear a short screenshot sound and see a flashing display of your smartphone.

You have just successfully taken a screenshot with your Cubot mobile phone. The screenshot can then be accessed via the gallery app and further edited or sent.

Xiaomi Redmi Screenshot - Solved

Details
Manuel
Android Smartphones
Year 2019

The Xiaomi Redmi smartphones have a very good price/performance ratio and are also very popular in this country since they can be bought at various retailers.

If you have now purchased such a Xiaomi Redmi, then you certainly want to use the screenshot function. This function is of course available and can be used as follows:

Taking a screenshot with a Xiaomi Redmi - Instructions

On the screen of your Xiaomi Redmi, let yourself see what is to be saved later within the screenshot

Now press and hold the following keys simultaneously for at least 2 seconds:

  • Power button
  • Volume down key

This key combination will now trigger a screenshot. You will hear a short screenshot sound and see a flashing screen.

It means that you have just successfully taken a screenshot with your Xiaomi Redmi. This can then be accessed via the gallery app.

Samsung Galaxy S9 Transfer pictures and videos to iPhone or iPad - Tip

Details
Manuel
Android Smartphones
Year 2019

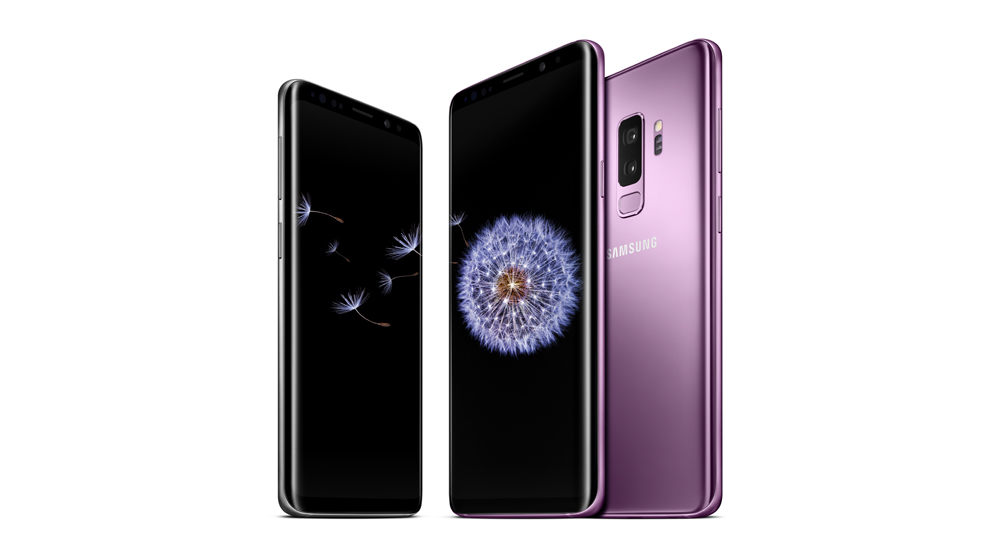
If you get into the situation of transferring photos, pictures and videos between a Samsung Galaxy S9 and an Apple iPhone or iPad, then you will very likely despair very quickly here.

Traditional methods, such as sending via Wi-Fi Direct or Bluetooth, are not possible between Android and iOS devices. But how can you exchange media files between the Samsung Galaxy S9 and the iPhone? This works as follows:

Transfer images from the Samsung Galaxy S9 to the iPhone and vice versa

Samsung Galaxy S9

Requirements to transfer files between Android and iPhone:

W-Lan network must be available

The PhotoSync app must be installed on both devices.

First download the app Photosync for the Samsung Galaxy S9 and the iPhone or iPad:

  • Download PhotoSync for iPhone (iTunes Store)
  • Download PhotoSync for Samsung Galaxy S9 (Google Play Store

If the app is installed, it is now only important that both devices are in the same W-Lan network. Then you can start sending files. This works as follows:

Instructions - Transferring files between Android and iOS or iPhone with PhotoSync

1. Open the PhotoSync app on both devices and activate W-Lan. Important! Both devices must be registered in the same W-Lan network.

2. Select the pictures you want to transfer.

3. Tap on the red Sync button at the top of the screen.

4. Select "Selected" - tap on "Telephone/Tablet.

5. Select the "Receive" tab on the receiver smartphone instead of "Send" and then "Phone/Tablet" as well.

6. Start transferring files between iPhone and Samsung Galaxy S9.

You now know how to transfer pictures, video etc. between a Samsung Galaxy S9 and an iPhone or iPad.

Samsung Galaxy Note 9 moisture detected - Tips what to do now

Details
Manuel
Android Smartphones
Year 2019

There are various error messages on the Samsung Galaxy Note 9, including the following: "Check the port - moisture detected. To charge your device, make sure your charger/USB port is dry".

“Samsung Galaxy Note 9 Moisture detected USB Port”

If you receive this message on the display, you cannot charge the Samsung Galaxy Note 9 via the USB cable.

The reason for the error message is usually one of the following:

Cause for moisture was detected on the Samsung Galaxy Note 9

Maybe you were just doing sports, showering, bathing or just had wet hands. If this causes some moisture in the USB port, this can lead to the error message described above. It is therefore a protective measure to avoid electrical damage to the device.

In the following we would like to give you now two tips, in order to eliminate the error message fast: 

Troubleshoot Humidity Error Message - Samsung Galaxy Note 9

Tip 1: Disconnect - Reconnect

Disconnects the USB cable from the charging port of the Samsung Galaxy S9 and then reconnects it. This often helps to fix the problem. If not, continue with tip 2. 

Tip 2: Dry USB port of Samsung Galaxy Note 9

The simple version blows several times into the connection. If that doesn't help, then use a hairdryer. Put this on cold air and then aim the airflow at the USB port of your Samsung Galaxy Note 9.

Afterwards the error message should not appear any more. We hope that with these tips you were able to dry the USB port of the Samsung Galaxy Note 9 or eliminate the error message, so that the smartphone can be charged as usual via USB cable.

iPhone and iPad Show calendar week in calendar - How to play

Details
Manuel
Android Smartphones
Year 2019

If you have an iPhone or iPad and use the calendar there, then you might also want to know how to display the calendar weeks in it. The appropriate setting can be found in the iOS system settings as follows:

Show calendar week - Calendar App iPhone and iPad

1. Open the "Settings" on the iPhone

2. Select the entry "Calendar

3. You now see an option with "calendar weeks" - activate the slider

  • Activate iPhone calendar weeks

The calendar app of the iPhone or iPad now displays the calendar weeks as well as the weekdays.

Samsung Galaxy Note 9 Secure Folder - Setup

Details
Manuel
Android Smartphones
Year 2019

If you want to store particularly sensitive data such as pictures, videos or documents on your Samsung Galaxy Note 9 encrypted and thus protected from access, you should use the "Secure Folder" function.

The special thing about this Secure Folder is that it stores files encrypted. This makes it very difficult or impossible for third parties to access the data in this folder without knowing the password you have assigned.

Secure folder Galaxy S9

1. On the Samsung Galaxy Note 9, open the App menu and continue with the Android settings.

2. Now go to "Device safety" and select the menu item

3. The "Secure folder" can now be activated here

Tap on "Start" and the setup wizard will guide you step by step through the process. You will need a Samsung account to use the service.

When the wizard is complete, you will see a new Safe Folder icon on the Home screen or menu. Open it and you can now copy or move files to it. These are therefore extra protected.

You now know how to create a secure folder on the Samsung Galaxy Note 9.

Samsung Galaxy S9 Delete Secure Folder - Keep data in it

Details
Manuel
Android Smartphones
Year 2019

Once you have created and set up the Secure folder on the Samsung Galaxy S9, you may want to delete it after some time, but keep the media files it contains.

If you don't know exactly how to proceed, the following explanation will help you with this process:

Remove secure folder - keep data

Samsung Galaxy S9

1. Please open the "secure folder" on the Samsung Galaxy S9

2. Select the symbol with the three dots in the upper right corner and touch "Settings" in the pop-up menu.

3. In the next submenu, navigate to "Further settings".

4. Here you will find the button "Uninstall" - select it

Important note: If you want your data, such as pictures, videos, documents, etc. stored inside the folder, to be transferred back to the normal internal memory of the Samsung Galaxy S9, check the following option:

  • "Move media files from safe folder".

5. Select the "Uninstall" button again to perform the process

The Secure folder is then removed and the media files are transferred. This process may take some time depending on the amount of data.

Activate Samsung Galaxy S9 Secure Folder - Tip

Details
Manuel
Android Smartphones
Year 2019

If you want to store particularly sensitive data such as pictures, videos or documents on your Samsung Galaxy S9 encrypted and secure, then you should use the "Secure folder" function.

Files in this folder can only be viewed with an extra password. Thus these data are extra protected.

To be able to use the Secure Folder on the Samsung Galaxy S9, you have to activate it first. How this works on the Samsung Galaxy S9 is explained step by step in the following instructions:

Secure folder

Samsung Galaxy S9

1. On the Samsung Galaxy S9, open the App menu and continue with the Android system settings.

2. Now navigate to "Device safety" and select the menu item

3. The "Secure folder" can now be activated here

Tap on "Start" and the setup wizard will guide you step by step through the process. You will need a Samsung account to use the service.

When the wizard is finished, you will see a new icon with "Secure folder" on the start screen or in the menu. Open it and you can now copy or move files to it. These are therefore extra protected.

You now know how to create a secure folder on the Samsung Galaxy S9.

Samsung Galaxy A6 Secure Folder Setup Guide

Details
Manuel
Android Smartphones
Year 2019

The Secure Folder is an area on the internal memory of the Samsung Galaxy A6 where you can move and backup files such as pictures, videos, documents, etc.

The special thing about this secure folder is that it stores files encrypted. This makes it very difficult or even impossible for third parties to access the data in it without knowing the password you have assigned.

To be able to use the Secure Folder on the Samsung Galaxy A6, it must first be activated. The following instructions will show you exactly how this works on the Samsung Galaxy A6:

1. Open the App menu on the Samsung Galaxy A6 and continue with the settings.

2. Navigate to "Device security" and select the entry.

3. The "Secure folder" can now be activated here

Tap on "Start" and the setup wizard will guide you step by step. You will need a Samsung account to use the service.

When the wizard is finished, you will see a new icon with "Secure Folder" on the Home screen or in the menu.

You now know how to create a secure folder on the Samsung Galaxy A6.

iPhone and iPad Disable Automatic video playback for the App Store

Details
Manuel
Android Smartphones
Year 2019

By default, when you open the iTunes App Store, videos automatically play on apps or other news. The background is what's called video content.

The default setting for this is "On" and thus set for the automatic playback of videos. However, this can bother you, because data is consumed unnecessarily when connecting to a mobile data network.

Therefore, follow the instructions below to switch off automatic playback within the App Store.

Turning off video auto play for iTunes and App Store - How to do it

1. Open the settings

2. Select the entry "iTunes & App Store

3. Set the slider to inactive for "Video Auto play

Alternatively, you can set the App Store to play videos automatically only when you're connected to a W-Lan network.

More Articles ...

  1. iPhone and iPad View and edit saved passwords in Safari - Solved
  2. Disable iPhone and iPad Automatic App Updates via Mobile Data
  3. Apple HomePod How to deactivate the hearing history - Solved
  4. Apple Watch Select another WLAN network - Instructions
  5. One Plus 6 Activate SMS Delivery Report - Solution
  6. Android "WIB init failed! Cause and solution of the error message
  7. Samsung Galaxy Note 9 Delivery Report for SMS - Activate
  8. Delete Apple Watch website data - Clean up memory
  9. iPhone and iPad How to turn location services on or off
  10. Apple Watch Using Siri without "Hey Siri" Wake-Up Command - Tip
Page 51 of 317
  • Start
  • Prev
  • 46
  • 47
  • 48
  • 49
  • 50
  • 51
  • 52
  • 53
  • 54
  • 55
  • Next
  • End


  1. You are here:  
  2. Home

Imprint

Privacy Policy

Privacy and Terms of Google

Sitemap